

How to add Avalanche to MetaMask
When the high speed of transactions is concerned, the Avalanche project is one of the very best nominees. Avalanche is the first smart contract platform that validates transactions in less than a second. But the attractiveness of this project is not only limited to its speed, but it enjoys a high level of security because to be hacked, taking the control of over 80% of validators will be needed. The unique architecture of Avalanche helps it have high scalability compared to other blockchain networks. The speed and scalability features help develop and run decentralised applications (dApps) like games.
MetaMask is one of the most popular cryptocurrency wallets out there, because of its outstanding features. Being a gateway to the Web 3 ecosystem of dApps, you can connect it to different blockchain networks. Features like easy integration, ease of use, and wide compatibility with different platforms are only a few reasons why many users prefer it over other wallets. According to Bloomberg, MetaMask is the most popular non-custodial wallet, with 30 million users.
Steps to add Avalanche to MetaMask
To be able to run dApps on the Avalanche network, you need to first add the Avalanche Mainnet to your MetaMask wallet. There are three methods to do it, which will be covered in this article. Before going any further, you will need to download and install MetaMask for Chrome to follow this tutorial. If you need help installing MetaMask, you can read this article and follow steps 1 and 2. Let’s jump into the first and the easiest method.
Method 1 (Recommended!)
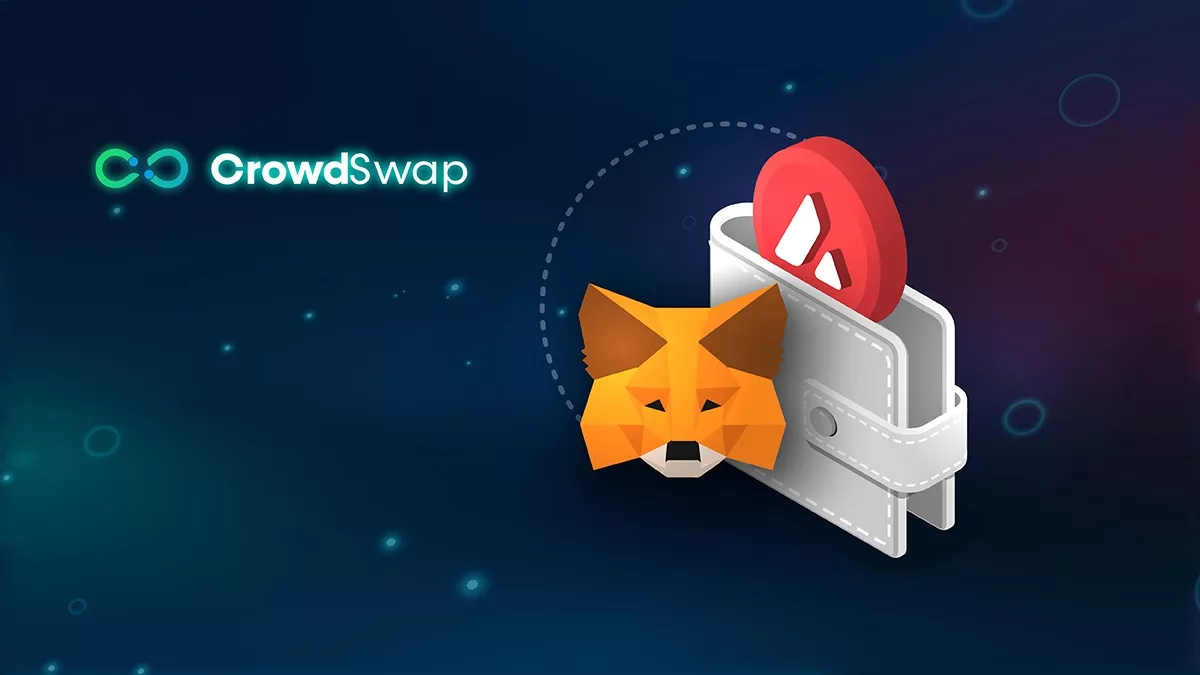
This method is done through the CrowdSwap App and is very convenient, therefore, it is highly recommended.
Step 1. Go to this address: https://app.crowdswap.org/.
Step 2. Wait for the page to fully load and a pop-up will show up, prompting you to connect your wallet.
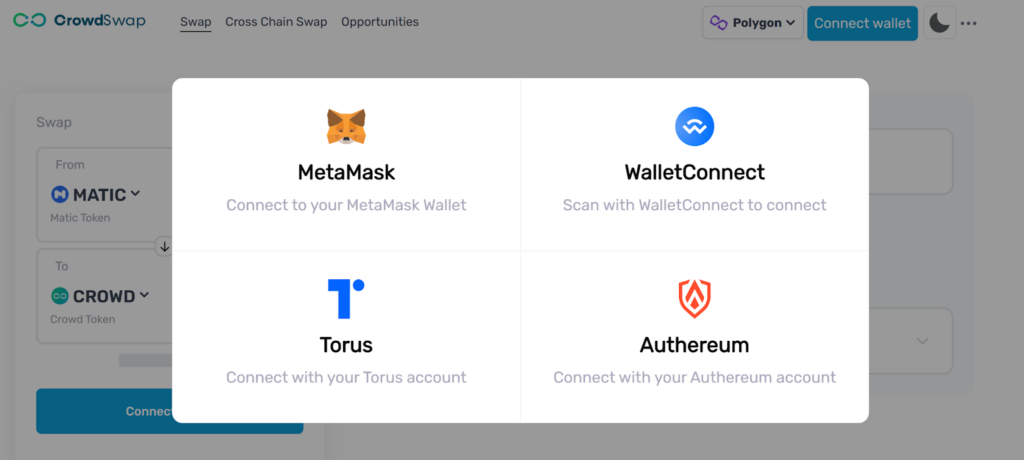
*If the pop-up doesn’t show, click on Connect Wallet and choose MetaMask.

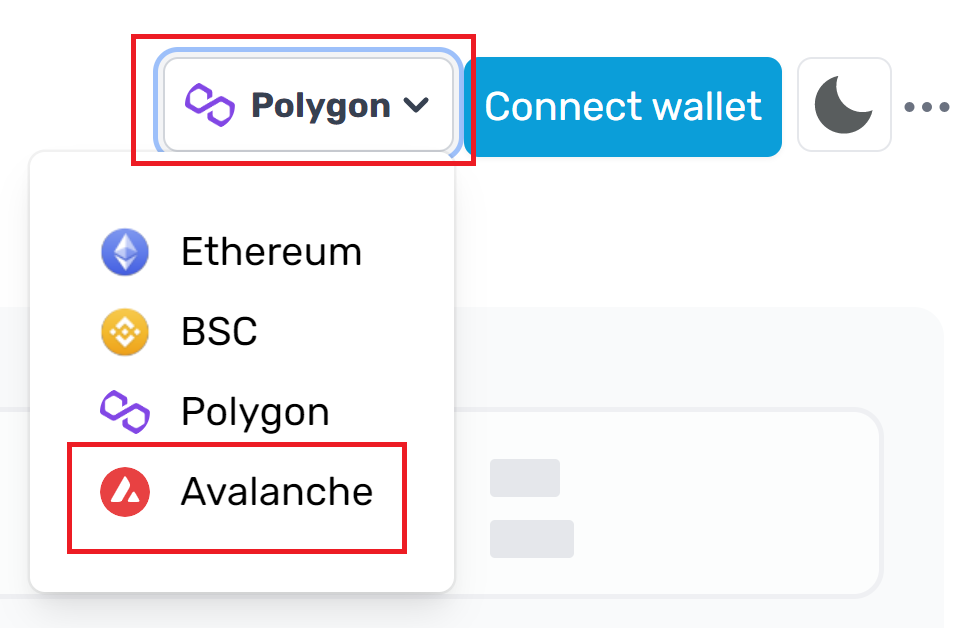
Step 3. Click on the network dropdown and choose Avalanche.
Step 4. Click on Change network.
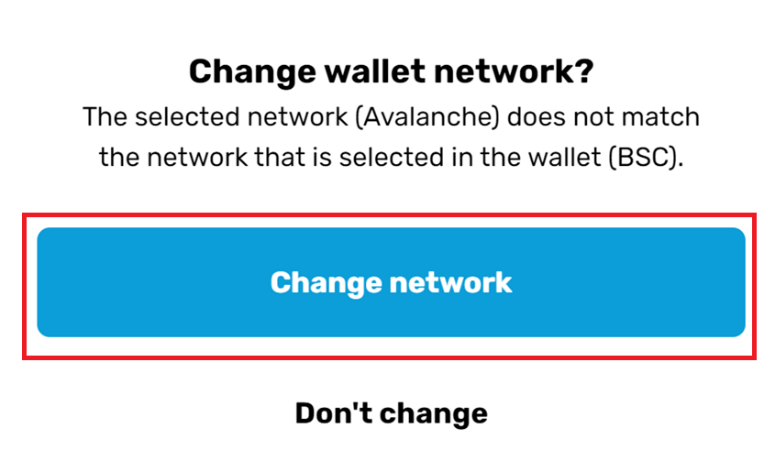
Step 5. Scroll down to click on Approve.

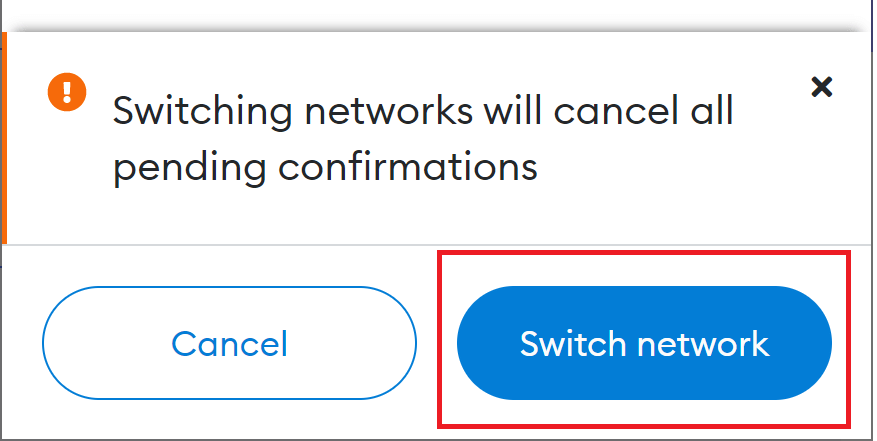
Step 6. Confirm by clicking on Switch Network.
Congratulations! You have now successfully added Avalanche to MetaMask. Apart from this method, there are two other procedures to add Avalanche Chain to your wallet.
Method 2
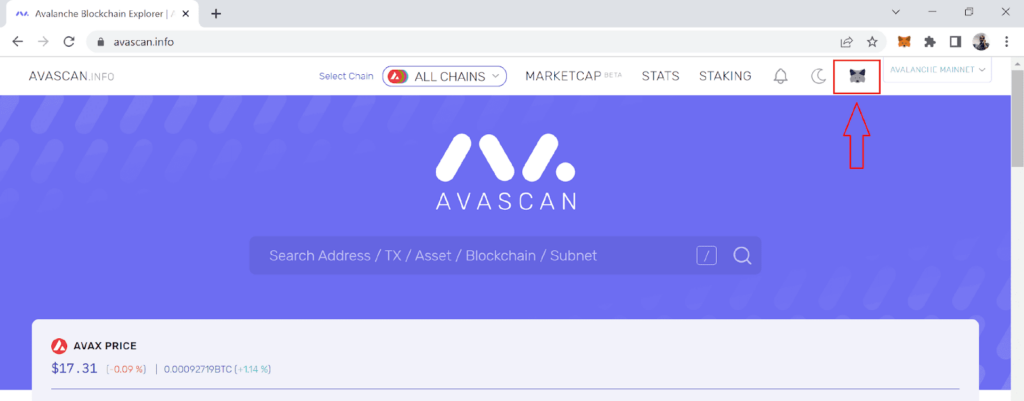
Step 1. Go to this address: https://avascan.info/ . This is the official website of Avalanche Network.
Step 2. On the top bar of the page, click on the MetaMask icon, which is greyed out.
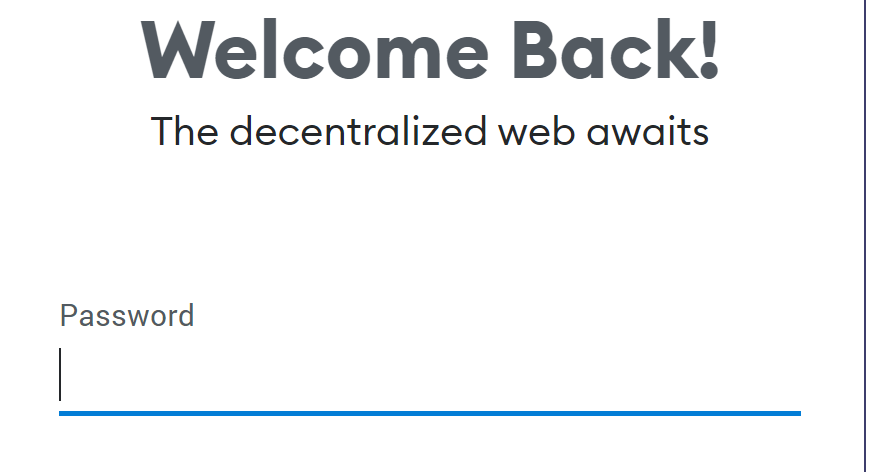
Step 3. Enter your MetaMask password in the MetaMask notification pop-up window.
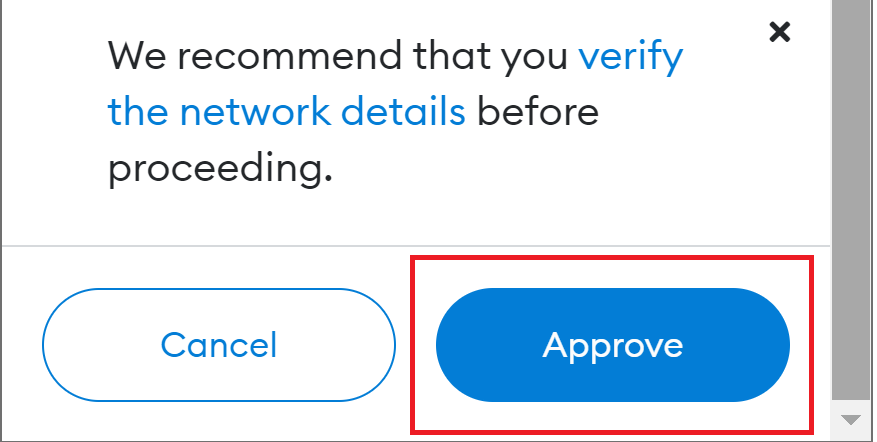
Step 4. Scroll down to click on Approve.
Step 5. Confirm by clicking on Switch Network.

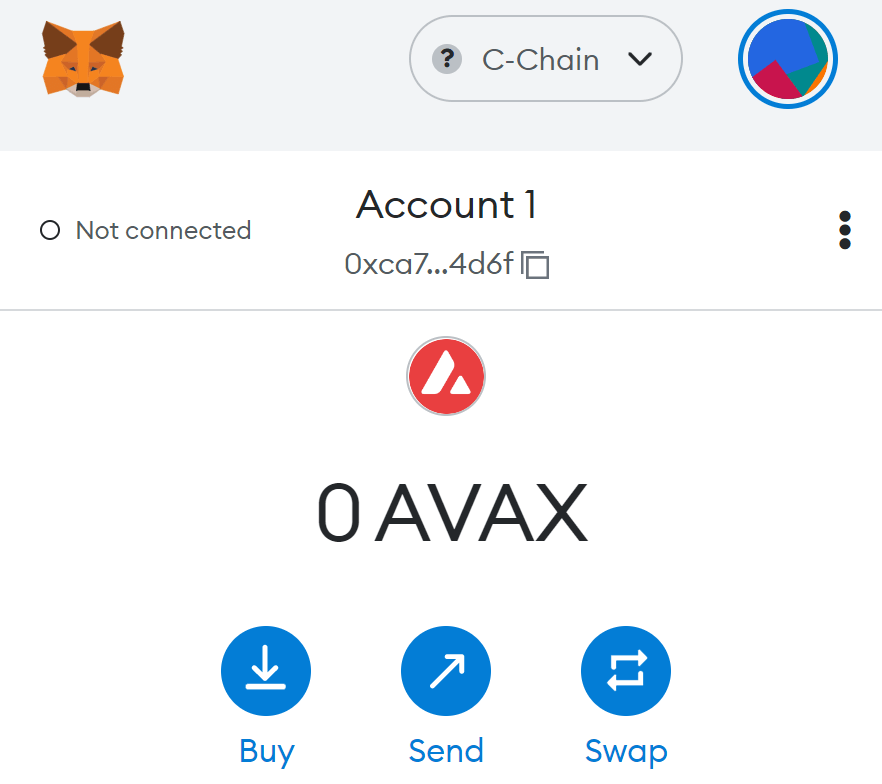
Congratulations! You have now successfully added Avalanche Network to MetaMask. Now, the MetaMask icon that was greyed out in Step 1, turns colour. If you open your wallet, you should see the following window.
Method 3 (Manual)
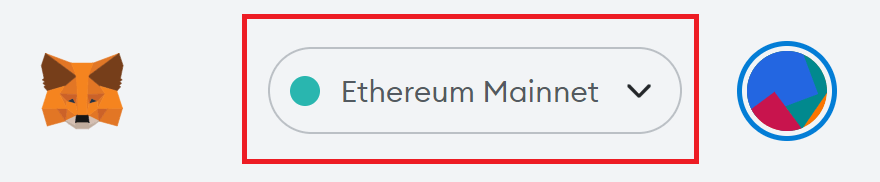
Step 1. On the top of your MetaMask, click on the network drop-down.
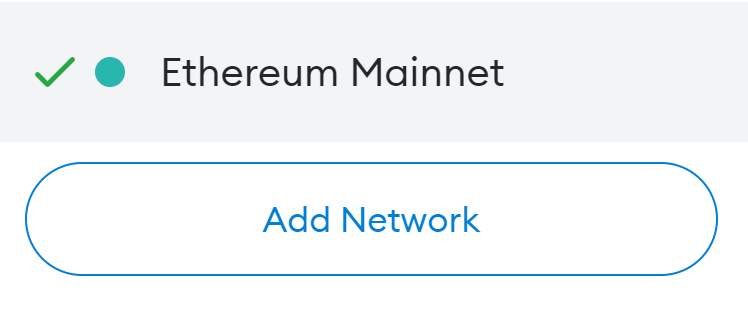
Step 2. Click on Add Network.
Step 3. Enter the following data in the new window.
| Network Name | C-Chain |
| Network URL | https://api.avax.network/ext/bc/C/rpc |
| Chain ID | 43114 |
| Currency Symbol | AVAX |
| Block Explorer URL | https://avascan.info/blockchain/2q9e4r6Mu3U68nU1fYjgbR6JvwrRx36CohpAX5UQxse55x1Q5/ |
Step 4. Click on Save.

Now, your MetaMask wallet should be connected to Avalanche Network.
Conclusion
In this article, we introduced three methods to add Avalanche to MetaMask. All three are essentially the same, except that in the first and second methods, entering the data is done automatically for you, while in the third method, you need to enter the same data manually. Either way, make sure you find the data to be entered from a reliable source.